Wednesday, May 31, 2017

Early 2016-2017 Construction Journal

Note: I've combined a number of early posts into a single post for "record-keeping" purposes. 

July 16, 2016

I'm starting the empire with four modules: 2 that are 36" x 96", and 2 that are 20" x 96". They will be built using 1/2" plywood and 1/2" Homasote on top, on a box of 1 x 4 pine. After determining layout heights and deck spacing, these four modules will make up the lower and upper staging yards. The lower staging yard will also have an 18" industrial area towards the aisle.


July 18, 2016

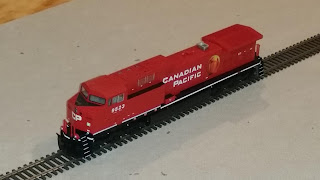
I finished assembling module U1 tonight. This will eventually be the first part of the upper staging yard. I used 1x4 lumber for the framework, 1/2" 4-ply plywood for the top, and 1.625" drywall screws to put it all together. I haven't attached the Homasote yet. From what I can tell, the best approach is to to paint the Homasote to help contain the dust. People then recommend both adhesive and screws to hold it down. For now, I can just sit the Homasote on top for prototyping on the shelving brackets, once I get those hung. For now, it's got a piece of track on it and a locomotive, so it's a layout, right?


July 20, 2016

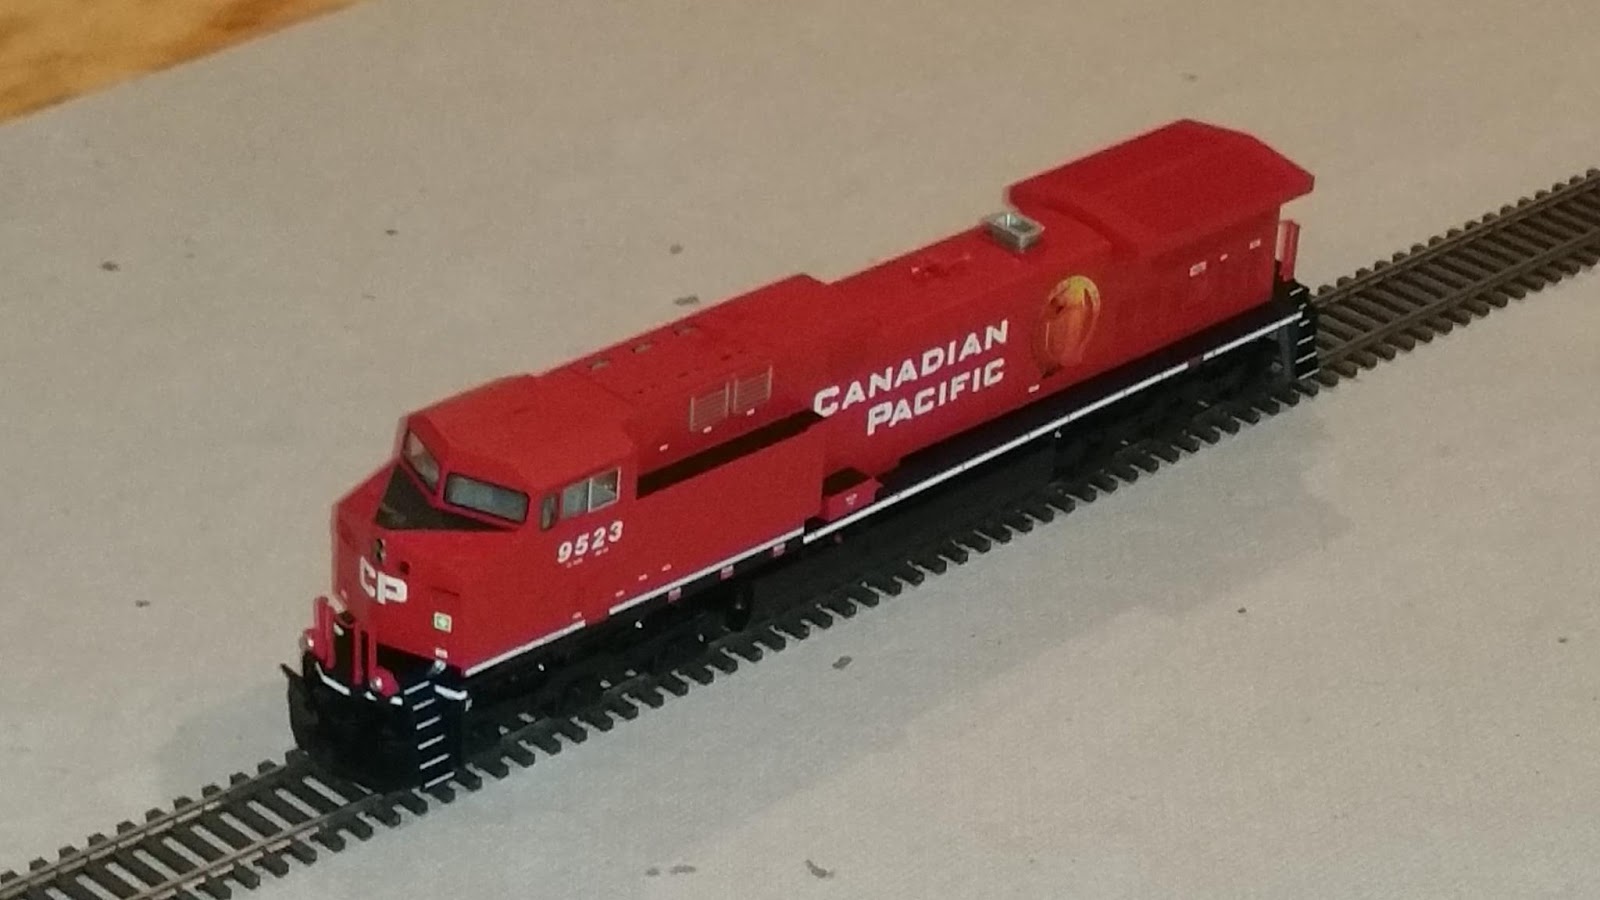
Module L1 has now been assembled. It is the first part of the lower deck staging yard/industrial district I'm planning. I got a bunch of turnouts in the mail so I tried laying them out in a possible yard configuration. The yard includes a double-track main, two arrival/departure tracks, and 8 classification tracks, plus a run around track at the bottom. The mains are at the bottom of the photo and will be up against the wall. The main yard won't be this wide, but this module worked well for a test layout.


Note: After this post was published, my wife decided that the basement needed to be repainted before I put up more of the layout. A number of other things happened in the meantime and the next work on the layout didn't happen for almost a year. 

May 8, 2017

Using a laser level, I got the first batch of Closetmaid vertical standards on the north wall and determined where the actual shelf brackets will go.


The next step is to paint the modules I built with an earth color, which will seal the Homasote and cut down the amount of dust they generate. I'll also add the masonite backdrop on each module, painted a light blue sky color.

In order to mount the module on the shelving brackets, each module then gets a 1x4x8' crosspiece on the bottom to secure it to the shelf brackets. The modules on the bottom (which are 36" deep) will also get 2x2 legs and pockets added for additional support.


These are the ClosetMaid brackets that I'm using on the wall. I am using 30" vertical brackets on the wall, since I am placing my decks at approximately 36" and 54" high. There will be a few places, such as near the electrical center, where I will get the longer brackets to provide shelves under the layout at that location. These cost $5.90 each and I put one on every stud for the large heavy modules.


These are the ClosetMaid brackets that I'm using on the wall. This is a 16.7" bracket, costs $6.98 at Home Depot. For the wider sections, I use the 21.75" bracket, which costs $9.98.


After that's done, the next task will be to go through the sump room around the corner and head down the east wall.

May 9, 2017

Using the ClosetMaid shelving brackets works well, but it does require additional support under the layout blocks. As you can see in the photo below, this is the arrangement of the upper deck bracket under the 20" wide staging yard module U1.


The crosspiece is 1x4 lumber and there is a screw hole in the bracket, which I'll secure to the module once I'm ready to lock it in place. The crosspiece to the right is offset back from the edge of the module, because the bracket has a small hook in it, shown below.


Once the module was placed on the shelving brackets, I found that the module was not level front-to-back.


I thought it might have been from the construction, but given that the module itself is level on flat ground, I discovered it's actually a bit of sag in the shelving bracket itself. Based on some feedback on my Facebook post, a number of people have run into the same issue with this particular product.

The solution is to add a little bit of shim material between the shelving bracket and the 1x4 crosspiece. For permanent mounting, I believe that a piece of Masonite hardboard will be the right thickness for the permanent shim. Once that's done, the module levels up nicely.

This is not necessary on the larger modules that have front legs on them, since the front legs have leveling glides on them. This allows for a near perfect level of the module. I don't want to introduce any hills that aren't supposed to be there.

May 11, 2017

More progress tonight, I got module L1 on the shelving brackets and got the front legs cut for it. This section is 36" deep, but the back half will be an 8 track staging yard. The front will be an industrial/switching district.


I made pockets for the legs out of 2x2 and 1x4 lumber. The legs have leveling pads in them to make sure everything stays square.


The inaugural train ran back and forth a bit, too. The next steps are to paint the surface and install a backdrop, which also needs to be painted. I'll then repeat the process for module L2 on the space to the right.


Tuesday, May 23, 2017

Block Detection Hardware Comparisons

I frequently act as dispatcher when I do operating sessions and one of the things that makes it so much easier for both the dispatcher and the crews is to have functional block detection. Signaling is also a very nice touch; however, signals are relatively expensive to install. The expense is both in the signals themselves and the signaling hardware. In order to do signals in the future, I have to at least design the layout for block detection upfront.

Depending on who you listen to, mainline turnouts may need to be isolated from their surrounding blocks. Leaving out mainline turnouts, I estimate that I will have around 42 blocks. This assumes a few things:
  • Trains will be no more than 10' long. Longer than this will cause the train to go through multiple scenes at the same time. 
  • Block will be roughly 12-15' long, but shorter blocks are better
  • Lower level will be mostly double-track main
  • Helix will be double-track
  • Upper level will be mostly single-track main with passing sidings
  • Mainline passing sidings will be detected
  • Industrial areas and sidings will not be detected
  • Staging yards will not be detected
Any track that is not detected will be isolated but then connected to a common track bus. 

I'm quite happy with the Digitrax command station and throttles, including the duplex wireless features. However, for detection, I've got several options since everything is compatible. The three vendors that I've identified are DigitraxRR-CirKits, and Team Digital. Each one of them has different wiring requirements in order to support block detection because each one does block detection differently. I realize there are places that explain how to build your own circuits and that NCE also sells these products, but these were the companies that were recommended to me.

Assumptions

A few assumptions go into this discussion. I'm using a 14 gauge bus wire and 20 gauge feeder wires, using Scotchlok 905 suitcase connectors. The layout will be broken into 4 or 5 power districts to help control short circuits. I will also be controlling/monitoring the layout by way of JMRI through a LocoBuffer-USB connected to the LocoNet network. 

Product prices are based on ModelTrainStuff.com and TrainWorld.com published prices. 

Digitrax Block Detection

Note: The full list of Digitrax detection/signaling products is available here

The BDL168 occupancy detector ($119) is the primary product for block detection. It requires a separate power adapter (PS14 - $9.97) This unit will manage 16 detection sections using the schematic below, located in the BDL168 instruction guide. 


Since a detection section will likely be 12-15' of track, the feeders from each piece of track need to be combined and then, using heavy gauge wire, run all the way back to the input port on the BDL168. The heavy gauge wire is required for the detection to work using the Digitrax product. This translates into a lot of wire going between blocks and the BDL168s.

Digitrax does offer a supplemental product called the RD2, which is a remote sensing diode. Using this product (which can detect two blocks), you can then use small gauge wire (think network cable) to transmit the detection information back to the BDL168. See the diagram below from the instruction sheet. 

Since a single CAT5 network cable actually has 4 pairs of wires, you can consolidate this detection wiring down nicely. However, this requires buying an RD2 for every two blocks. Each RD2 is listed at $7.65 at Tony's Train Xchange. The RD2 is powered through the track bus and does not require a separate power supply. 

Digitrax is well supported and is one of the major systems used for DCC control. The documentation is clear and they do offer e-mail and web-based support. Their warranty support is also outstanding. 

Pricing this out, you have these items to purchase for 16 detection blocks:
  • BDL168 - 119.00
  • PS14 - 9.97
  • RD2 x 8 - 61.20
Total: 190.17, or 11.88 per block

RR-CirKits Block Detection

RR-CirKits is probably best known for the LocoBuffer product, as well as the new Layout Command Control (LCC) systems. The product prices are based on the RR-CirKits "4+" prices. They give this discount for NMRA members, as well as bulk discounts. 

The controller product is the TC Mark II product ($114.22), which supports 64 input/output lines. For block detection, you add a BOD-8 ($35.40) and a CT-Coil-Set-8 ($13.60) for each 8 detection sections you want to manage. The detection wire passes through the center of the coil. The coil is then connected using twisted pair wire back to the BOD-8 board. The detection coils can be placed near the actual track being detected, minimizing the amount of wire required. In addition, no special wire design is required. As long as the detection wires pass through the coil, they can then connect directly to the track bus wire. The diagram below includes a lot of extraneous items, but the basic block detection is easy to see on here. 


The TC Mark II connects to the LocoNet, but requires a separate power plug. 

While some of the documentation is a bit hard to understand, one bonus is that the owner of the company was more than happy to answer my beginner questions and provide some recommendations. 

Pricing this out, you have these items to purchase for 16 detection blocks:
  • TC Mark II - 114.22
  • BOD-8 - 35.40
  • CT-Coil-Set-8 - 13.60
  • PS-S-12-800 power supply - 9.30
Total: 7.90 per block, based on the TC Mark II + power supply supporting 64 blocks

Team Digital Block Detection

The BlocD8 product provides block detection using a system similar to both of the other systems. The DBD22 product can detect two blocks of track and the BlocD8 can detect eight blocks of track. However, the DBD22 product does not work on its own, while the BlocD8 includes LocoNet connections. It is powered via the track bus. Similar to RR-CirKits, the detection section wires go through the center of the coil. 

Tony's DCC Exchange has the BlocD8 product available for 84.95, which translates to 10.61 per block. 

Summary

Based on this research, the RR-CirKits product appears to be the best price-per-block for detection capabilities. A single TC Mark II will be able to provide all the detection needs for the entire layout as well as provide signaling capability down the road.