Tracklaying
One of my earliest projects was running track through my sump pump room to connect my staging yard with the rest of the railroad. As this was some of my earliest work, it wasn't great, especially since I had never done a liftout section. There were a number of issues with my first attempt:
- Using the Masonite guards to maintain alignment of the bridge section was not sufficiently tight and the track did not always line up.
- I overlapped track from the bridge section onto the fixed section, which led to derailments.
- The wood support closest to the staging yard was slightly too high, so the track coming off the Homasote surface had to climb up an unnecessary grade, which led to uncoupling.
- The staging yard is based on two entrance tracks but there was not a way to get from both tracks to all eight staging tracks. The lower staging yard is based on a single entrance track, eliminating this issue.
As I'm getting ready to start the final phase of construction, I wanted to redo this work and eliminate all these issues. As part of this redo, I had found a code 83 double crossover at my old hobby shop in St. Paul when I was up there for MinnRail. This was exactly what I needed to resolve the access issues in the yard. The other issues were a matter of being a lot more careful in the benchwork design and tracklaying process.
Fixing the bridge alignment took some effort, but I happened on an article talking about putting in alignment pins. It took a while to find them, but I finally found a hardware solution at Rockler with this product, called a table pin (Item #32334). They're generally used for creating removable table leafs, but they work perfectly in this application. I drilled four holes on the four corners of the removable section while the section was clamped in place. I put the male pin in the receiver section and the female section in the removable section. With these pins in place, the removable section stays exactly in place with zero wiggle at all.


The complete view of the pin is here:

I also cut a new piece of 3/4" plywood to connect from the left support to the wall adjoining the staging yard, which now butts directly to the module in alignment to allow the track to go directly from the Homasote to the cork without any change in elevation. The previous piece let the track sit on the drywall instead of how it is now, with the wood piece pushed directly up against the Homasote surface.
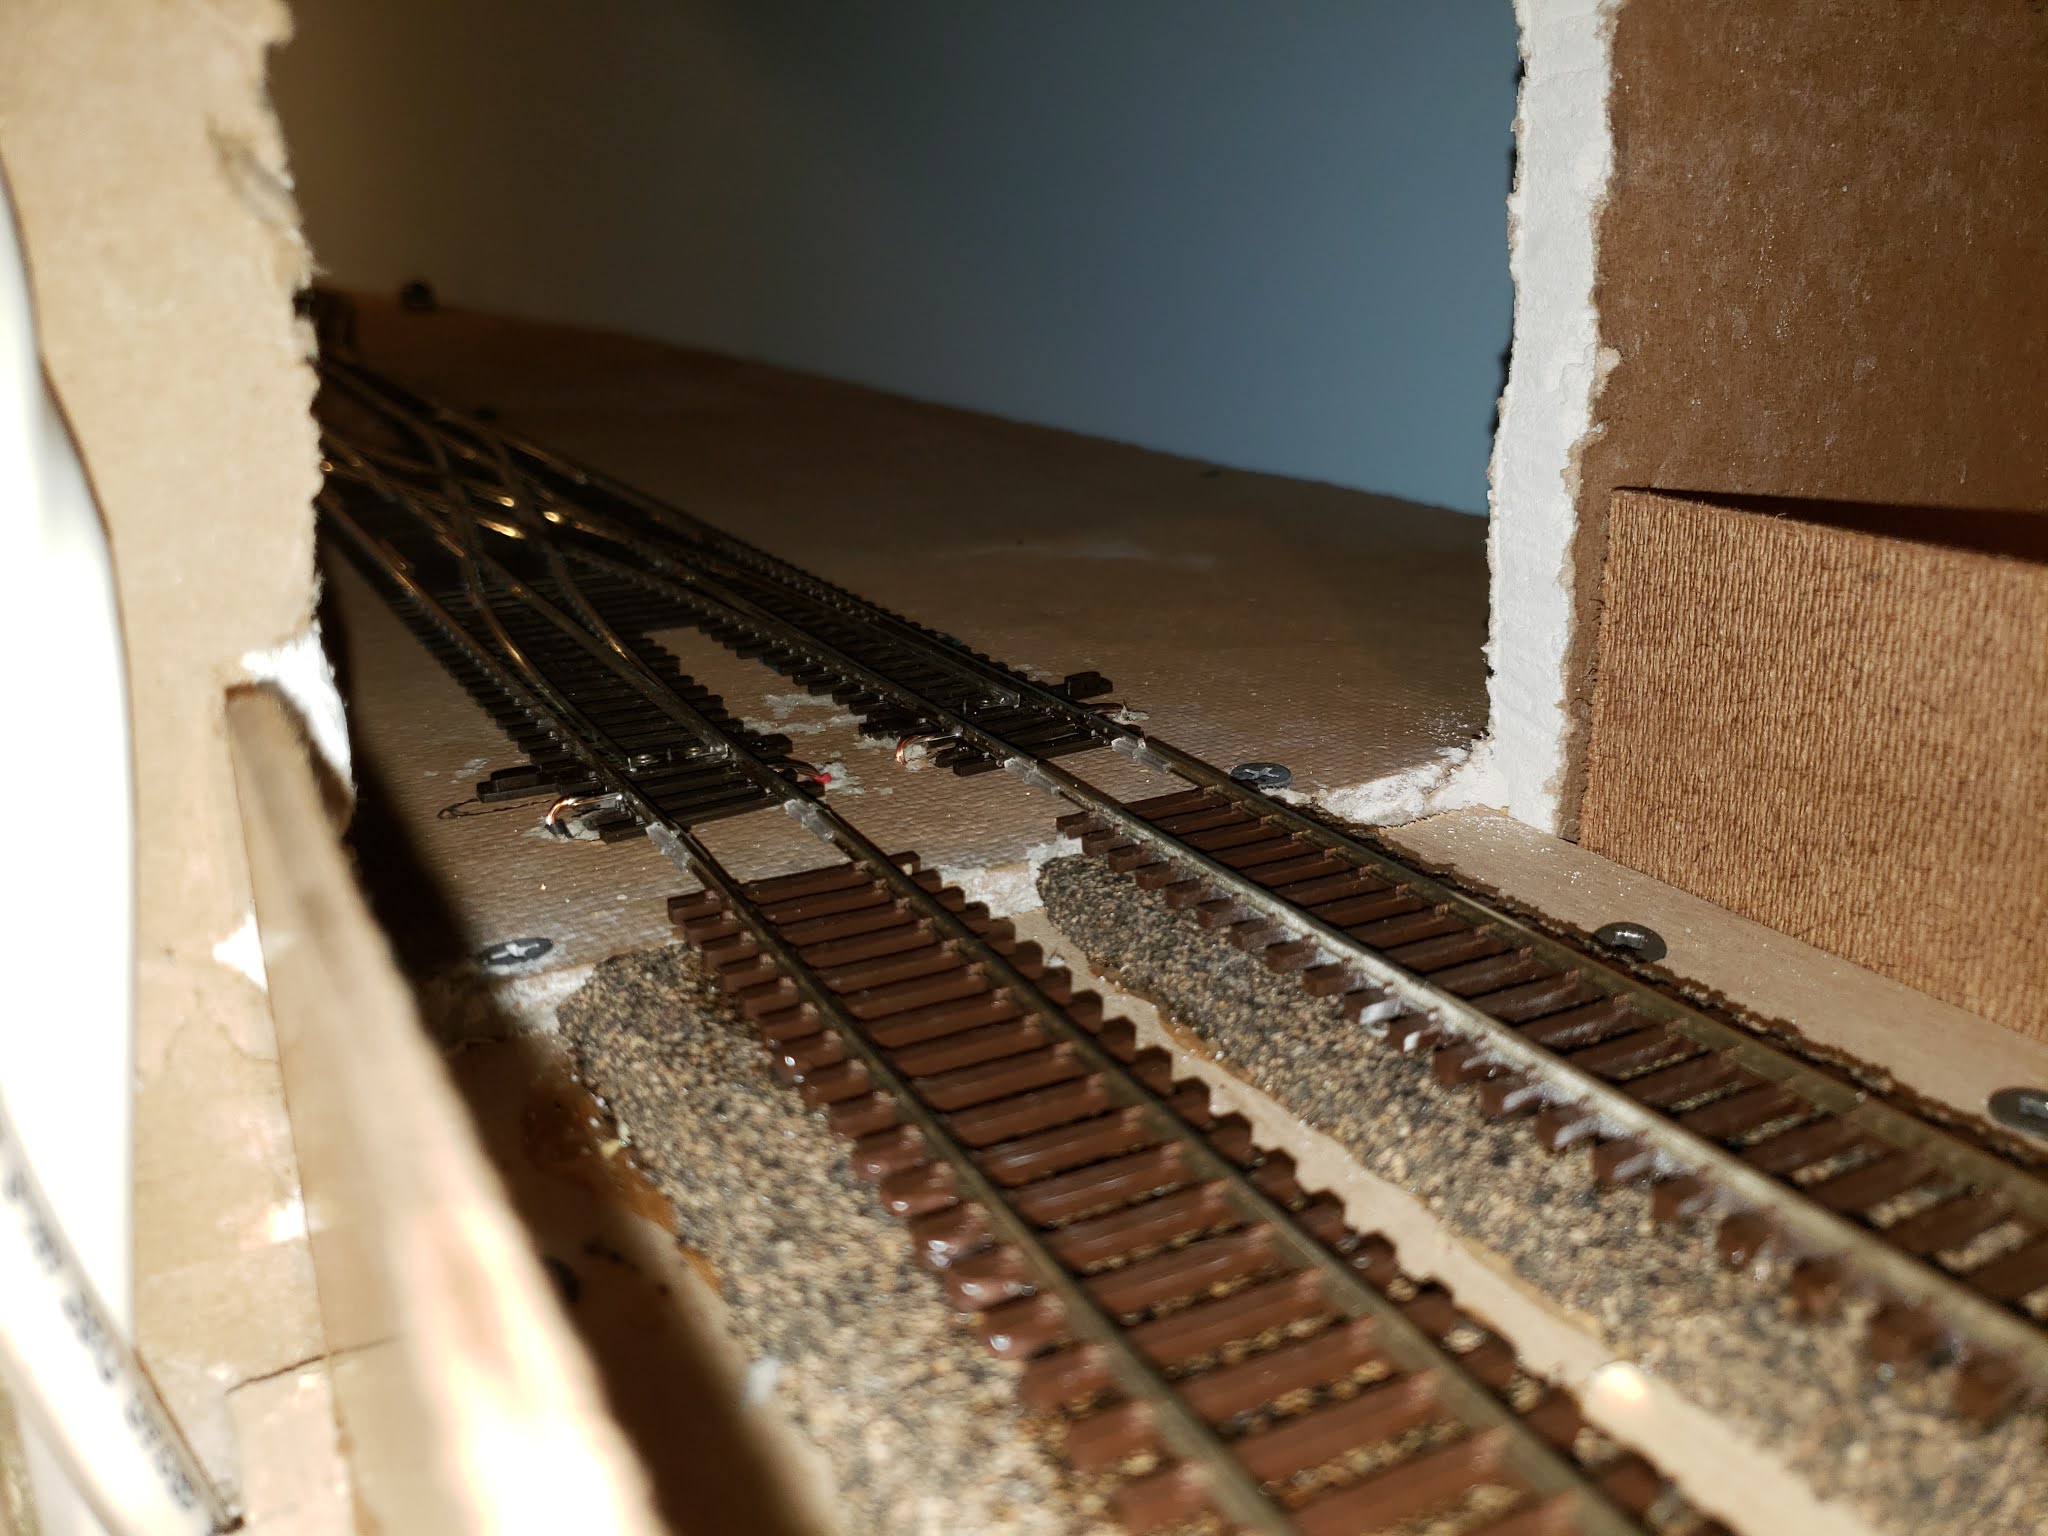
I arranged the double crossover on section U3 so that there would be room for the four Tortoise motors to go underneath and cut some connecting pieces of flex track to join it with the two parts of the staging yard.

Now that the four turnouts are marked from the double crossover, the next step is to drill holes for the Tortoise throw arms to connect to the crossover. I'll also reinstall the flex track across the removable section. Once it's all dry (instead of using track nails, as I did the first time) I'll carefully cut the gaps to allow the section to be removed. Doing it this way will help ensure that the track remains aligned and eliminate those annoying derailments.
7/11/2020 - I finished laying the track in the sump pump room and got all the track reconnected to the bus wires. Here's a tip -- make sure your wires are labeled. I had to trace wires around the room to figure out which was which, and quickly labeled them accordingly to avoid doing this again in the future. Once the track was done, I also cut the gaps for the removable section, did a little cleanup and was able to ensure that the section could be easily removed and replaced. Running some sensitive passenger cars through both sections of the track was also successful -- no derailments at all.


7/12/2020 - I got the double crossover Tortoise motors wired up and successfully connected them to the Motorman board, which then let me control it from the computer. I also had mistakenly installed Tortoise drives under the layout without first wiring them, which meant I had to wire them under the layout. Not fun. However, I was able to get them connected with only a minor burn to my finger from the soldering iron.

7/13/2020 - After getting the staging yard and sump pump room work done, my next task was to install the manual Tortoise controls on the Glenwood (U5-U6) district. I cut some Masonite fascia pieces at 5.5" tall. This gives me a small lip above the layout surface and a little bit of extra below to block the view of the wood supporting the section.
Using my keyhole saw, I cut a 1" hole for the turnout control. I mounted the physical switch on a small piece of Masonite and then mounted that behind the hole. I like the effect and it protects the switch from being bumped. Flipping the switch up will switch to the spur and flipping it down will close the spur. After doing this one, I've got five more to do in the Glenwood district.

7/18/2020 - I finished up the six local Tortoise controls over the past few nights. Those tiny DPDT switches are not the easiest things to solder. You need the smallest pencil tip for your soldering iron and I used a "helping hands" set of clamps to hold everything together. I'm planning to paint the fascia black but I'm happy with the installation design.

Operations
7/20/2020 - In a previous post, I talked about how I had backed off my computer-based switching system and had decided to use the Car Order System. After getting my initial three switching districts created and assigned car spots, I created car cards and completed the initial set of car card envelopes for them. The nice thing is that if I need to tweak a car card, it's easy to reprint.

NMRA Achievement Program
7/6/2020 - I've earned the Author certificate already and submitted my paperwork for Chief Dispatcher last month. After updating my records, I determined that I had enough time units to submit my Volunteer achievement paperwork. I had to get some signatures from various people, but once those signed forms all arrived, I submitted them for review. Having that one done means I'm done with all the achievements that require you to track time.
My next goal is the Electrical achievement. I'm almost done with the requirements already, with the exception of a reversing loop (item A3) and connecting up my circuit breakers (item A6). The nice thing about this achievement is that there's no judging involved.
